
Snorkeling photography (and some photos)
Snorkeling photography
When we started snorkeling and SCUBA diving all too many years ago, taking photos while snorkeling was generally intimidating to most people. The equipment was expensive and often not easily accessible, and the heavy housings and strobes seemed clumsy when paired with snorkeling. Today, digital cameras opened a new age of underwater photography, especially with the advent of waterproof point-and-shoot cameras. It is unusual to see a snorkeler or diver that is without a camera, whether it is a small point and shoot or housed smart phone.
Our love for and desire to learn about the ocean realm has fostered a deep appreciation for the art of underwater photography, which has led to careers as professional photographers. On our trips, we use photography as a tool to help reinforce points about marine ecology and animal behavior as well as produce special images that capture the excitement and wonder of the trip.
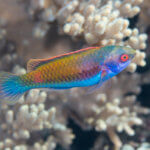
FISH PHOTOGRAPHY
Colorful fish are easily the most photographed animal on the reef. Getting a good image of a fish, however, is not that easy. Fish are often elusive and uncooperative. Given that they spend much of their time avoiding potential predators, I guess there is little room to blame them. Over the years, I have found several techniques that seemed to have consistently led to capturing the image of the fish that I wanted. For example, images of fish for our guide books required the profile of the fish, or ID shot. The following techniques, however, will work whether you are hoping for the fish profile, portrait, or even behavior or movement…
First, good snorkeling skills are a must
Being comfortable in the water means you can approach fish with slow, less-alarming movements. The first skill to master is the surface dive. When floating on the surface, bend at the waist so that your head and torso become perpendicular to the surface of the water. At the same time, lift one or both of your legs so that they, too, become perpendicular to the water. At this point, do not kick your legs. Kicking them while they are in the air will do nothing for the movement and only cause a lot of splashing (that may scare your fish subject). Use gravity to allow yourself to slip deeper into the water. Once you feel your legs (and fins) underwater (again, gravity did all the work, bending at the waist and lifting the legs will absolutely cause you to submerge below the surface) start to kick slowly.
Doing this correctly, you will have spent almost no energy (conserving oxygen) to get underwater and you will have done so without making much movement, splashing, or noise. Mastering this skill will absolutely allow you to get closer to your fish subject.
As you can imagine, breath-holding is an important part of this skill. When we submerge underwater, we take a breath of air in our lungs with us. Usually the more we fill our lungs, the more oxygen we have at our disposal. This would seem like a good strategy to increase our bottom time. The more we fill our lungs, however, the more we increase the overall surface area of our body. Since buoyancy is a function of surface area, we may now have created a situation where we are positively buoyant and are now fighting harder to stay underwater. So how do we address our need for a breath of air into the overall equation?
You may think, why not just account for a full breath and wear more weight on your belt. I DO NOT recommend that. First, it will mean you are fighting to stay on the surface, causing you to tire more quickly. Second, the extra weight to counteract a full breath balances in perhaps 2-3 meters of water. Below that, and you may be very negatively buoyant. This is a dangerous situation to be in because at the end of the dive, having used a good portion of your oxygen, the last thing you want is to have to struggle back up to the surface. It is much better, and highly recommended, to fine-tune your buoyancy by adjusting the amount of air you take with you prior to submerging.
I can spend more time underwater with a half breath with little movement than a full breath and swimming or fighting a slightly positive buoyancy situation to stay down. In other words, the less movement I do, the less oxygen I consume. The real trick is to minimize the amount of carbon dioxide build-up, which ultimately causes the brain to signal it is time to breathe. Moving less and delaying that response may give you additional seconds or even minutes with good practice.
Second, understand your subject!
Fish spend their lives on the alert for predators. As attractive as you think you are, most fish will turn and swim away from you because you are larger, foreign, and have binocular vision. The first two adjectives are easy to understand, but having binocular vision? Yes, and it is probably the first criteria a fish uses to determine if you are friend or foe.
Most predators have binocular vision so that they can judge distance. Obviously this is an important part of the overall strategy when chasing down a fish. Herbivores, corallivores (those that feed upon coral), and planktivores (those the feed upon plankton) tend to have eyes on each side of their head. This allows them a large field of vision so they can see a potential predator coming from almost any angle. And since they are not chasing down moving objects, the need for judging distance is not as important.
Okay, so now you are this large, clumsy, binocular-visioned-creature in the water often swimming quickly towards your potential subject. Seeing you, the fish can only think of one reaction: swim away, swim away! So how can you accomplish your goal of getting close?
1. Do not approach the fish from above
In other words, do not surface dive while the fish is right under you. Doing that is a guaranteed way to startle the fish and elicit a reaction that involves swimming away or for cover. Think about it, if you are swimming along and a large object whizzes by you from behind, you would get a startled. But if that object were coming from a distance and you could see it approach, you might have time to assess what it is and decide if it is dangerous or not.
It probably works the same for fish. Instead of dive-bombing on a fish for a photo, once you see your subject, swim away and surface dive down to its depth and approach it slowly from the side. If you have good snorkel skills, you will not be making much commotion and the fish might assess you as a non-threat and hang out for a bit longer.
2. Use your camera viewfinder or LCD screen to see your subject
Doing this covers your eyes and makes it hard for the fish to immediately assess you as a predator. Again, this might buy you some distance and time before the fish decides to swim away.
3. Learn and observe the behavior of your fish
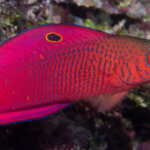
This knowledge will allow you to understand how it will react and when it is best to go for the shot. For example, parrotfishes are exceptionally hard to photograph especially when they are swimming about the reef. They zig and zag, go up and down, move here and there, eat this and that, and it is hard to figure out where they will actually stay still long enough to get a photo. Knowing that parrotfishes like to get cleaned often gives you opportunities to photograph them.
Hang out by a cleaning station. A cleaning station is an area on the reef (typically a coral colony) where cleaner wrasses (Labroides spp.) will pick off tiny parasite or dead scales and skin from fish that hover nearby. When the parrotfish goes in to get cleaned, that is when you can surface dive nearby and swim slowly up to the fish as its getting cleaned. This works for many species of reef fishes that like to get cleaned but even for those that do not often avail of this service, there are always opportunities if you observe their swimming patterns and behaviors and are…
4. Patience!
Yes, be patient. Do not go in for the shot right away. Take your time and let the fish become comfortable with you around. Why don’t floating logs scare fish? It’s because the floating log has been bobbing up and down and not doing anything else. After a while, fish just accept it as part of the reef environment. In other words, be the log! I can remember many, many times where a photo of a fish took me well over 20 minutes to get as I just floated and slowly followed until the right moment came up.
A word about the camera
All of the photographs in my first book, Snorkeler’s Guide to Marine Life of the Philippines, were taken with a Canon D10 point and shoot (POS). The point here is that you don’t need a massive and expensive camera rig to get the shots you want, especially when shooting in shallow, brightly lit water. The image quality of POS cameras are generally pretty good, in some cases, professional quality, and most cameras are capable of withstanding water pressure up to 10m (33 feet), which is more than deep enough for most snorkelers.
Using a POS and the techniques outlined above will often produce great results. Using a DSLR or mirrorless camera in a housing gives you a choice of lenses that can enhance fish photos. If you prefer the DSLR with changeable lenses, some of the settings I tend to use on my camera are faster shutter speeds and lower f-stops to freeze the movement of the fish and make the fish crisp against the background, as well as longer lenses to keep smaller fish subjects in full frame.
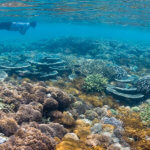
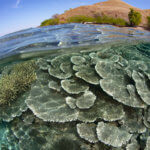
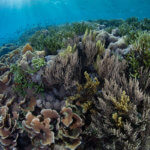
WIDE ANGLE PHOTOGRAPHY
The intricate details of shape, color, pattern, and textures of fish and invertebrates, so easily viewed when exploring shallow reefs, are what initially lure folks into underwater photography. Numerous fish have appealing manifestations and personalities that can be captured with digital sensors, but without their surrounding scenery images of isolated subjects can seem somewhat lacking.
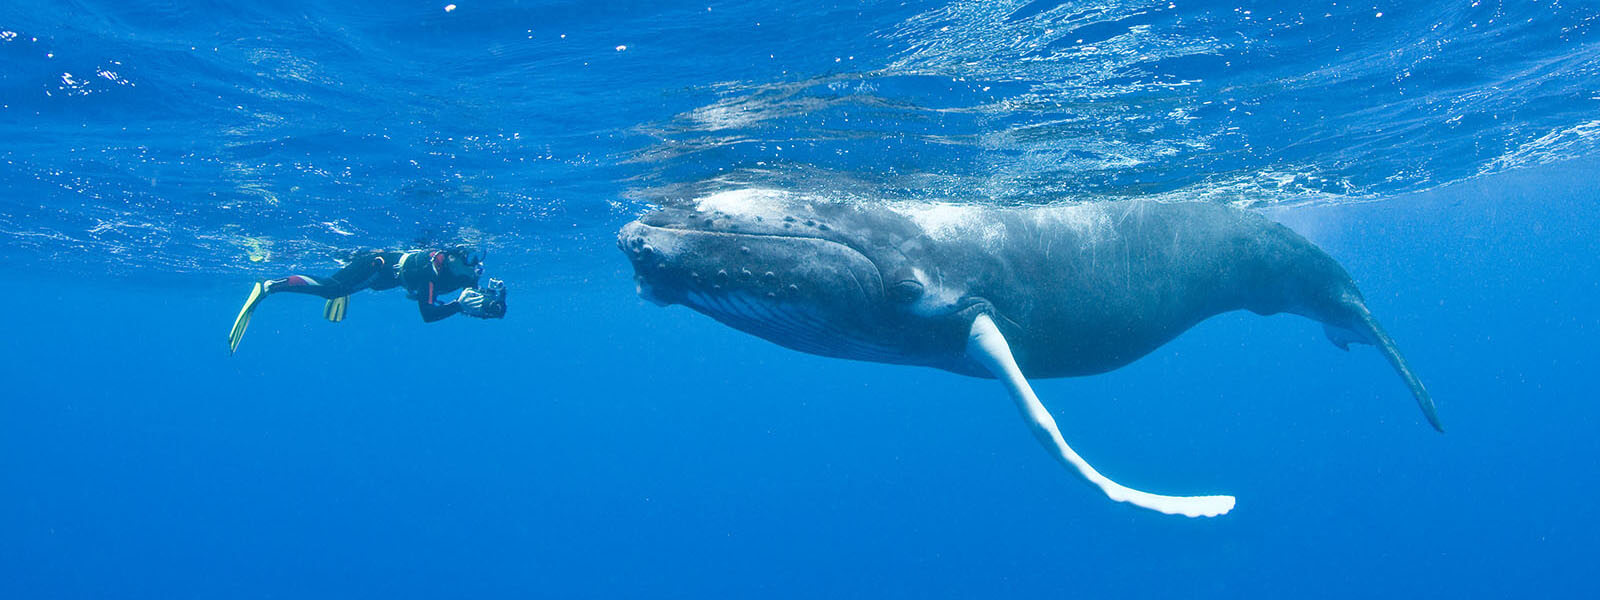
Admittedly, what makes a great photograph is highly subjective but some of the most inspiring and intriguing underwater imagery has been created by incorporating as much as possible of the overall environment into the composition. This is what wide angle photography is really about. Where as the aim of macro photography is to exclude much, or all, of the background environment, wide angle includes everything. Backgrounds become just as vital as the foreground to the overall wide angle product.
That said, wide angle photography may sound easy to do. Just point the lens in any direction and hit the shutter. Not so fast. Wide angle can be almost effortless when conditions are perfect but it can also be extremely complicated and difficult to capture the wanted scene in a creative, aesthetic way. Whatever the environmental conditions dictate there are a few keys to producing beautiful wide angle images. Most important and most often disregarded is being in the right place at the right time. The more time spent in the water (which is the “right” place) the more often photographic opportunities arise.
Persistence is certainly imperative. Just one attempt at shooting underwater images rarely captures the essence of the scene so keep at it. Just keep shooting while at the same time don’t forget to think. Human brains have a preference for particular aesthetics so composing the image properly is vital. Keep in mind what should be included in the image and what should try to be avoided. How to light the scene is another quandary. Will natural light suffice? Should artificial light be used to paint the foreground, producing more contrast and color? Some of these problems are dictated by the subject. Is it skittish, fast moving, slow, or stationary? Obviously, it’s easiest to produce quality images with things that don’t move much but with practice fast moving animals become easier to capture.
It also pays dividends to study other people’s images. What’s good, what’s not, what can be emulated and what can be improved upon. Utilize other people’s ideas as a base and add a twist. Photography is much like subjective science. It is built on a few basic principles but continues to evolve through time, technology, and individual creativity.
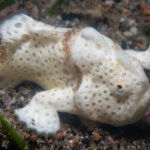
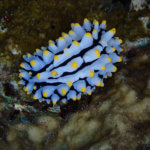
MACRO PHOTOGRAPHY
Small subjects or a fine detail of large ones, that’s what the art of macro photography is all about. Most point-and-shoot cameras have a setting for macro and there are a wide variety of macro lenses available for DSLR cameras. Using either approach basically allows the user to place the lens close to, and focus upon, a subject measuring only a few inches in length. On the technical side of photography, macro is probably the easiest to master because most of the work is finding the small subject, and then the lens/camera does the rest. Strobes help to brighten the image and allow for larger f-stops (smaller aperture and, thus, larger depth of field), which will bring more of the subject into focus. Find the subject, get as close as your lens will allow and snap!
Balancing natural light with artificial light (wide angle photography), or the challenge of skittish and fast-moving subjects (fish photography) largely does not apply with macro photography. Why, then, is macro one of the hardest types of photography to perform, let alone succeed at, as a snorkeler? In almost every ‘macro’ situation, in order to get the shot one must be able to hold their breath underwater and remain perfectly steady (or, at least, keep the camera as steady as possible).
The reason for having to hold one’s breath underwater is simple. We need to get close to the subject. This often requires submerging underwater even if the subject is only in a meter of water. Remember, the camera has to be only a few inches from the subject and holding a camera at arms length means the nearly impossible task of making sure the subject is not only in the frame, but also in focus. This reason alone accounts for the need for breath holding. Another important reason is that one must keep the camera on the subject long enough for the camera’s focusing system to focus squarely on the subject. This can take several seconds.
Finally, though touching the substrate is discouraged, there are times when holding onto rocks or substrate that is covered with encrusting algae can be an option. Please make sure you look where you are placing your hand, and try to minimize the contact by using just a single finger if possible.
Practicing your breath holding and body control will absolutely lead to better photos underwater. For snorkelers who wish to capture images of their favorite nudibranchs or shrimp, mastering these skills are the best first step…
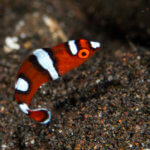
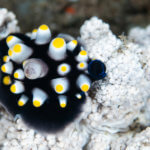
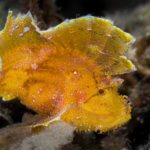
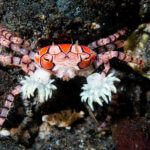
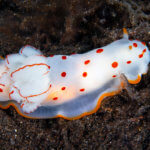
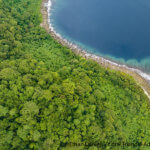
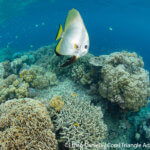
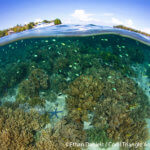
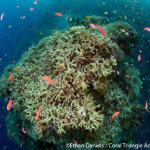
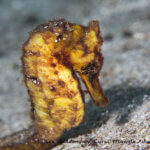
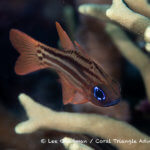
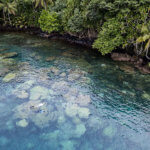
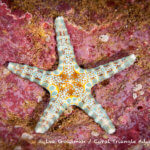
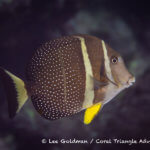
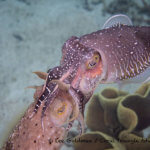
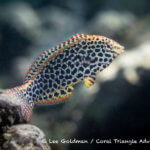
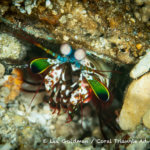
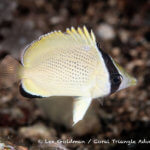
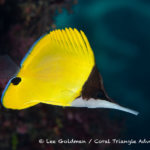
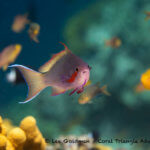
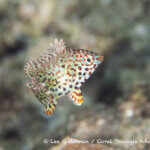
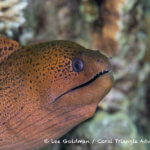
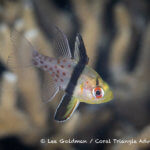
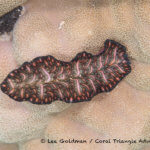
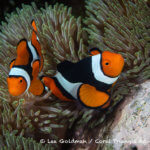
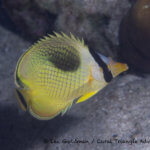
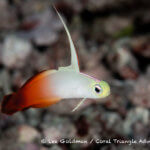
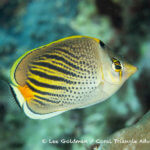
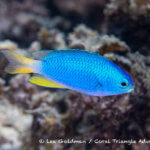
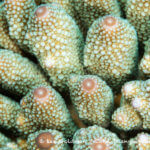
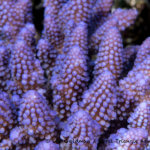
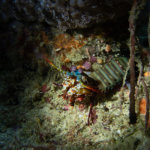
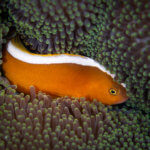
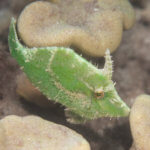
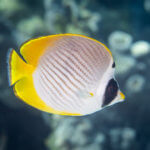
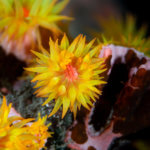
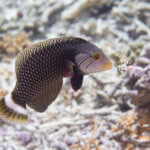
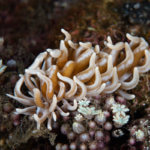
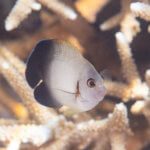
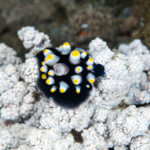
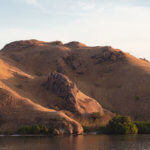
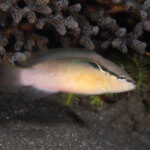
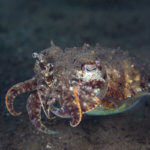
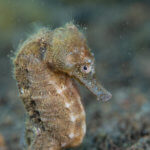
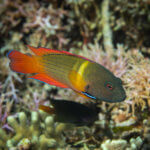
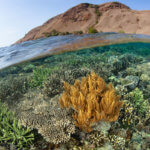
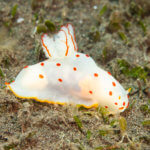
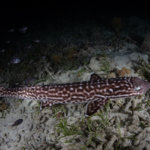
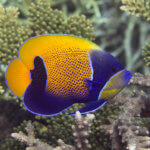
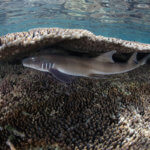
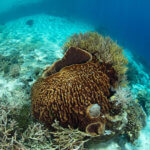
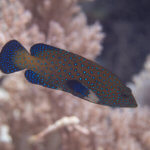
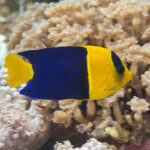
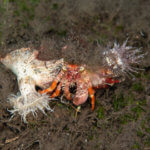
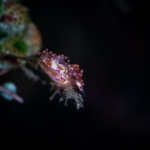
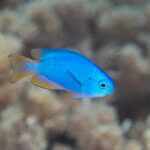
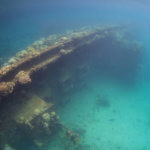
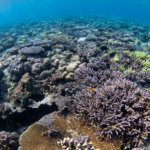
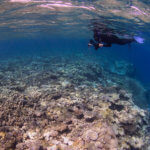
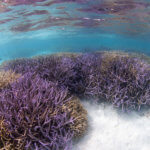
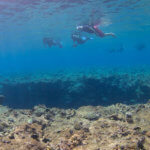
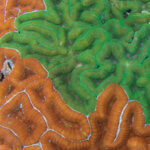
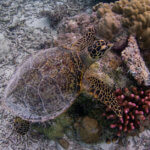
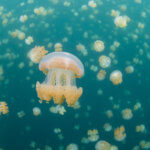
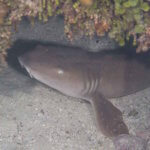
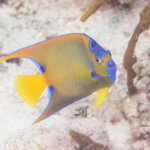
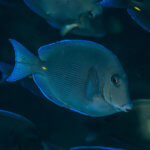
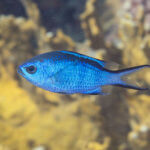
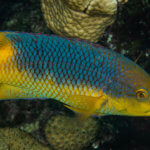
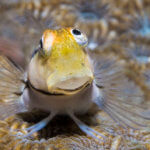
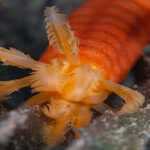
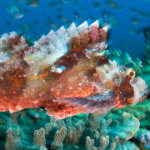
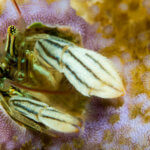
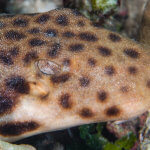
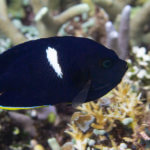
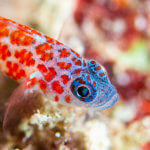
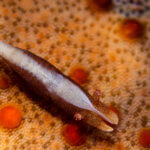
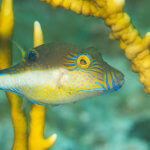
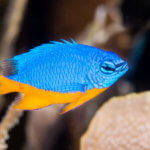
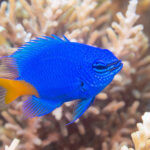
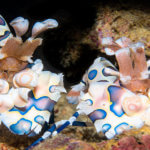
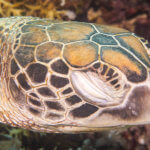
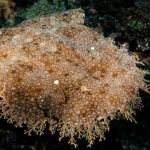
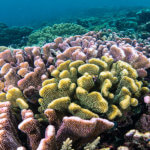
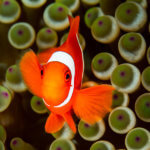
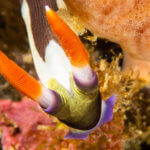
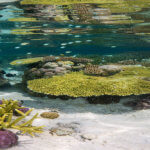
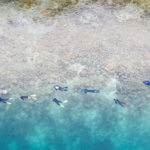
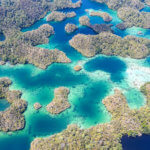
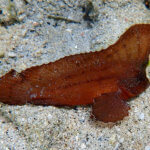
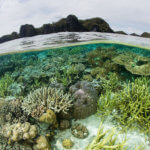
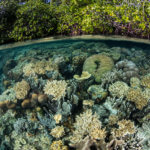
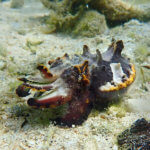
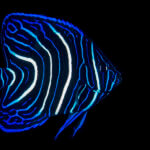
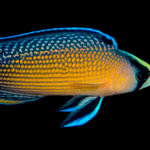
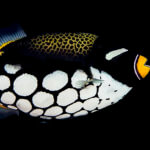
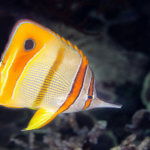
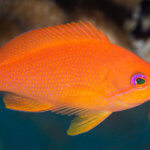
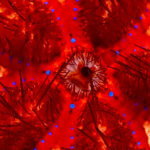
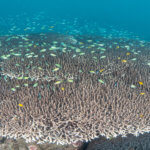
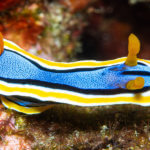
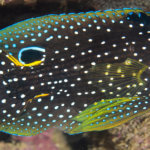
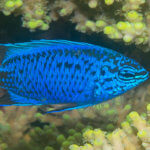
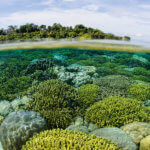
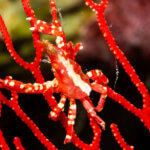
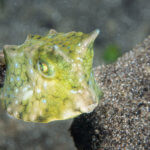
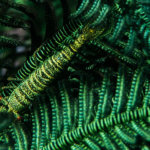
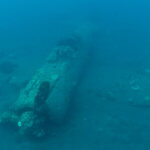
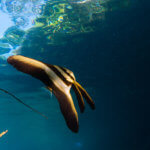
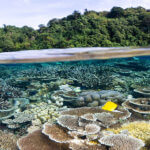
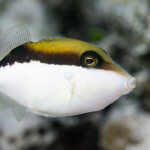
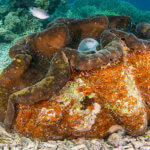
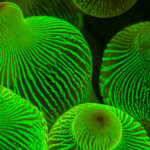
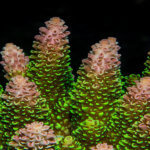
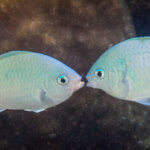
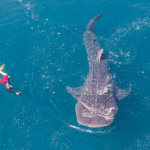
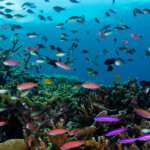
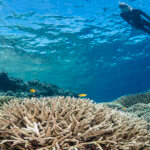
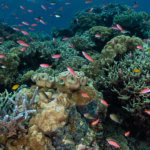
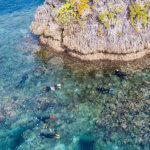
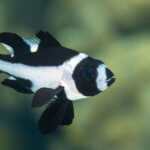
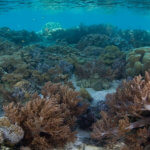
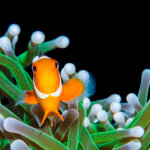
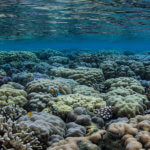
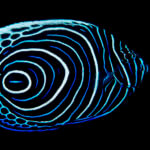
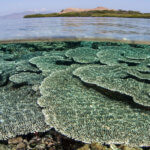
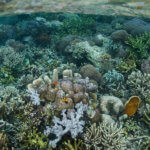
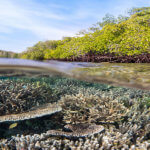
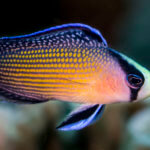
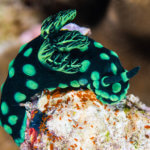
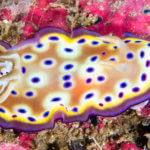
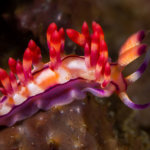
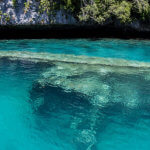
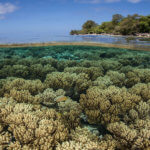
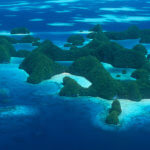
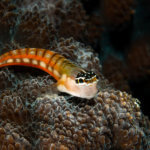
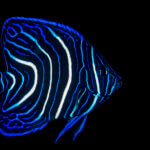
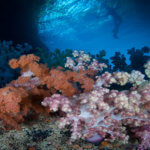
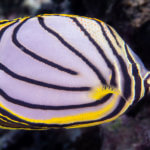
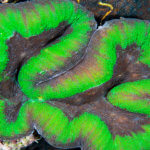
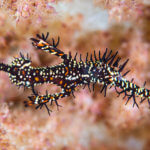
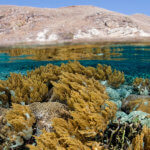
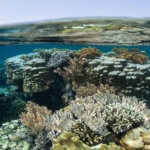
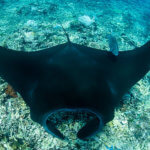
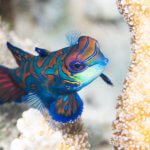
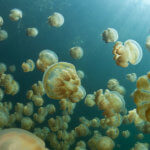
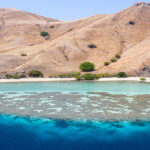
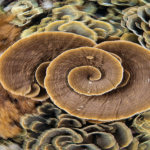
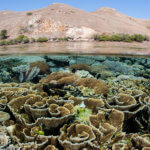
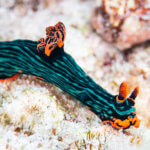
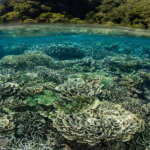
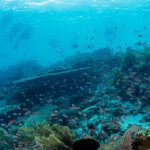
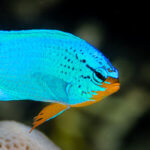
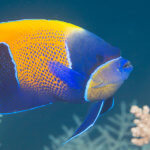
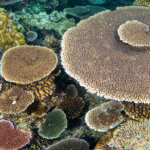
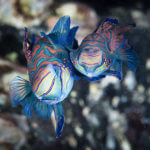
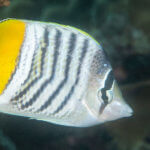
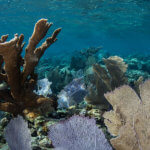
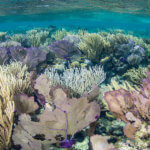
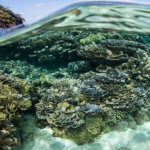
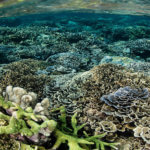
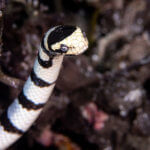
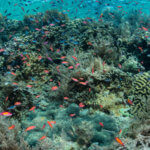
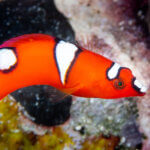
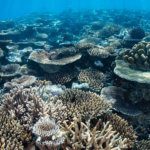
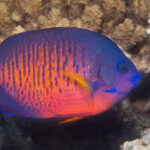
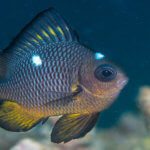
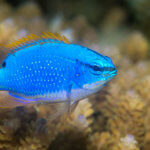
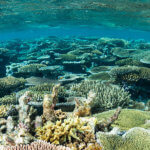
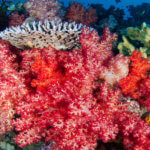
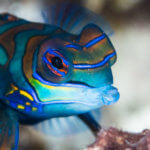
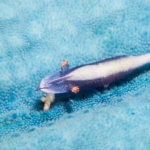
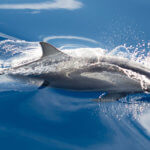
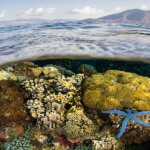
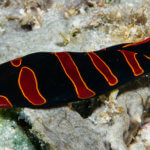
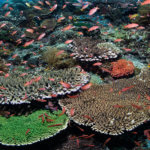
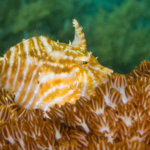
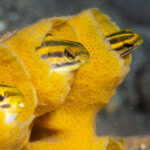
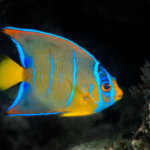
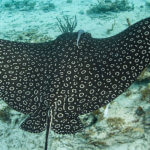
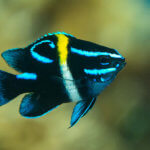
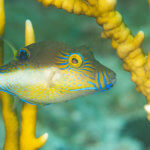
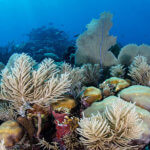
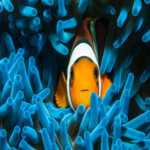
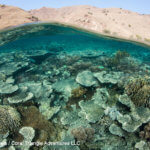
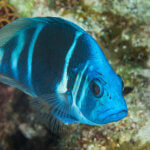
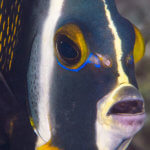
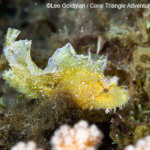
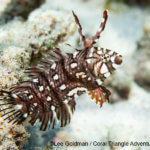
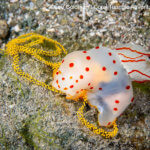
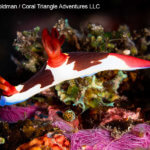
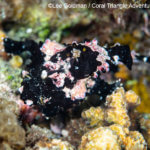
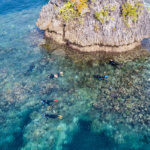
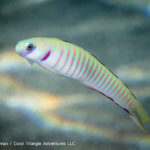
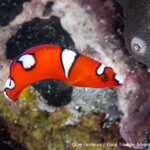
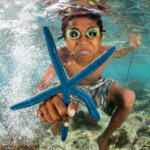
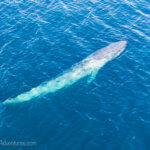
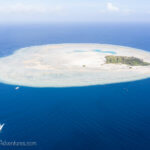
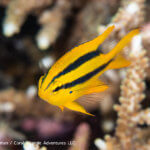
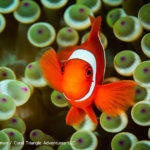
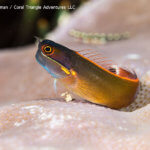
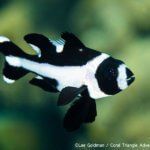
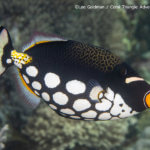
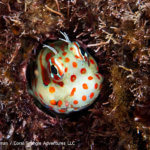
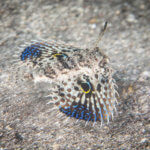
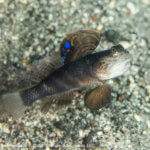
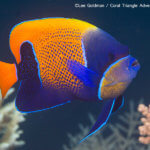
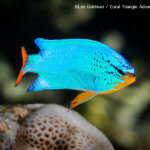
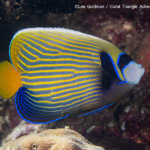
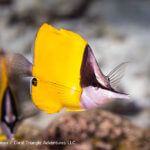
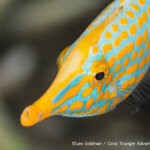
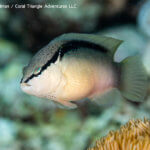
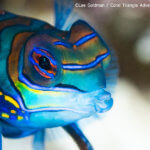
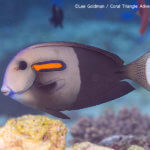
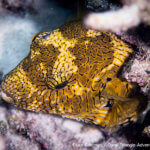
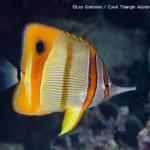
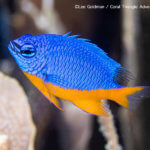
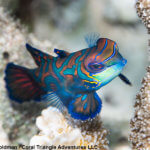
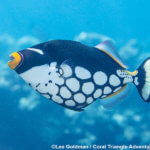
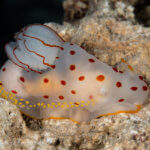
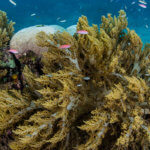
Below are some of our favorite images photographed while snorkeling at some of our favorite destinations in the world! This is just a small sample set of the thousands of images we have gathered over the years. Many more can be seen throughout our blogs. All images are all copyrighted images and we please ask that you contact us if you’d like to use any of the images.


-

- At market

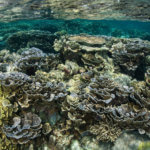
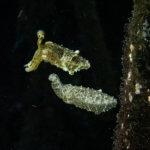
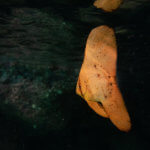
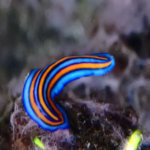


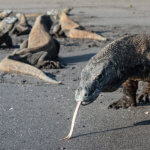
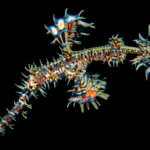
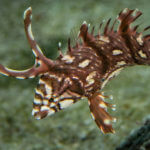
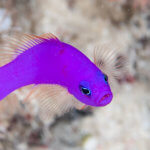


Please check for more photos as we try to update this after each snorkeling adventure!