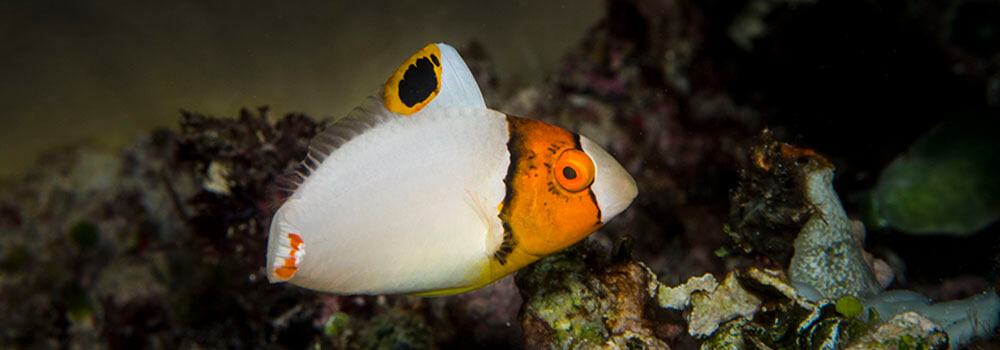
Fish Photography part 1
Fish photography part 1.Taking pictures of fish is not easy. I think we all know that. Their strong sense of flight in the face of what they perceive as a potential predator means we end up getting a lot of photos of fish butts. After many years of trying to capture fish for entries in our guidebooks, I think I have a few formulas that tend to produce results more often than not. Here’s one of them: master your skills as a snorkeler. Being comfortable in the water means you can approach fish with slow, less-alarming movements. The first skill to master is the pike dive. When I learned how to SCUBA dive way back in 1988, we first learned how to snorkel. The instructor was firm in his evaluation on our snorkeling skills before we were allowed to put on a tank. The pike dive was his sticky point. You either did it correctly or you didn’t move on. Period. When floating on the surface, bend at the waist so that your head and torso become perpendicular to the surface of the water. At the same time, lift one or both of your legs so that they, too, become perpendicular to the water. At this point, do not kick your legs. Kicking them while they are in the air will do nothing for the movement and only cause a lot of splashing (that may scare your fish subject). Use gravity to allow yourself to slip deeper into the water. Once you feel your legs (and fins) underwater (again, gravity did all of the work, bending at the waist and lifting the legs will absolutely cause you to submerge below the surface) start to kick slowly. Doing this correctly, you will have spent almost no energy (conserving oxygen) to get underwater and you will have done so without making much movement, splashing, or noise. All of these will aid in getting closer to your fish subject…something we will tackle in part 2 of this series.
